Thursday, April 8, 2010

Pruning the espalier fruit trees

We have the great fortune to have a pruning expert among our acquaintances, and on March 1 he came out to the garden to give us some lessons, especially on pruning the espalier apple and pear trees, and on the roses. It was high time, he said, as the trees were just starting to show the swellings where they would soon bud, but it was still cold enough that the sap was not really flowing yet.

Once they've been trained, in principle there's not much difference between pruning espalier fruit trees and conventional fruit trees. Ours are about 30 years old and have already been well-trained, so they now simply need to be maintained. The trees are so long-established that they also no longer need to be attached to the trellis.

The first principle is maintaining the shape when seen from all sides. This means that when seen from the front, there shouldn't be more than 4 to 5 strong horizontal branches on each side of the trunk. In our case, the trees hadn't been pruned for a while and were already developing additional branches, often protruding to the front or back instead of to the side. They had to go. Click photos to enlarge.


Another thing that had to go were the long vertical shoots along the top of the espaliers that make them look like they have "hair". Here an example of an unpruned "hairy" tree.


Seen from the side, you want to maintain the "flatness" of the row of trees. Keeping this in mind also helps in deciding what to remove.


As with other fruit trees, it's important to thin out twigs that interfere with each other, and to make the cuts just above eyes or branches pointing in the direction that you want the tree to develop in.


Here there are too many twigs:


Here's what it should look like after clean-up:


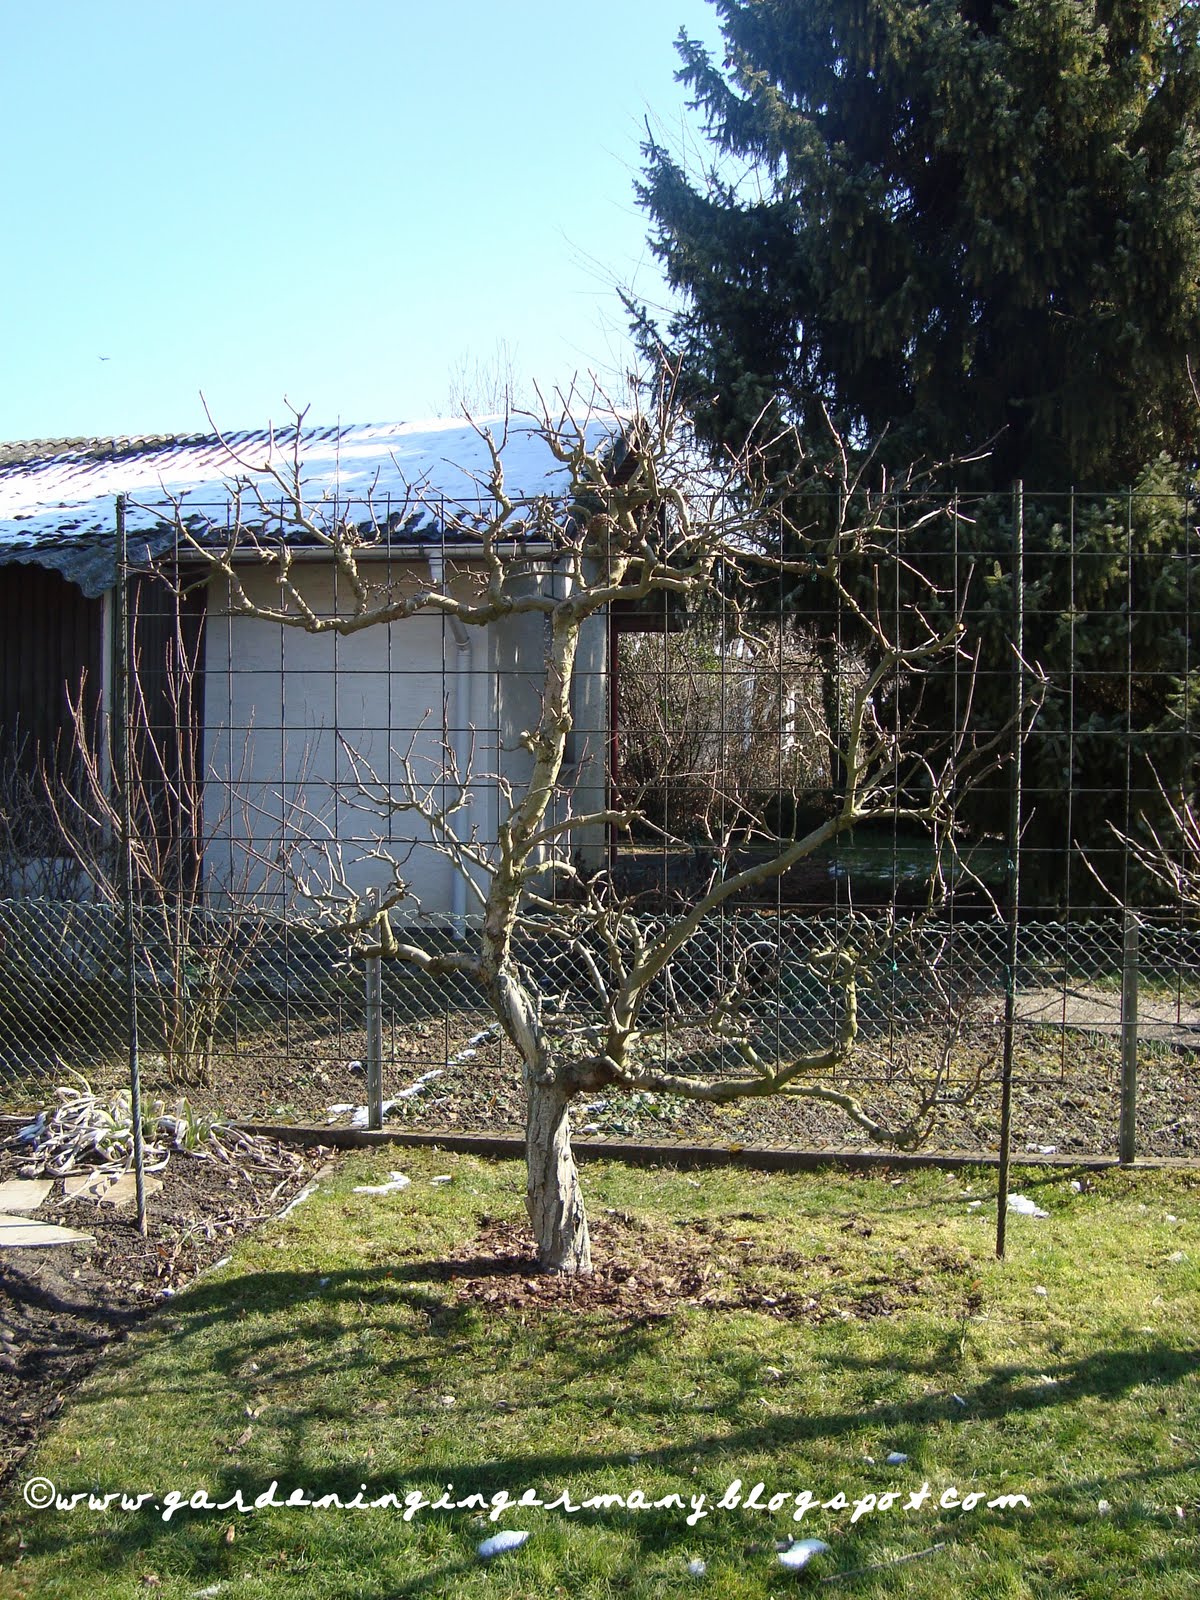
Here are some examples of finished trees. You can get a feel for how much was cut off if you click to enlarge. I was a little dismayed, but now, a month later, the trees are about to burst into blossom and they look just great. I'll post some photos of when they're in full bloom.
Sunday, March 21, 2010

So you like snowdrops...

Then come with me on a stroll through our garden colony, where there are myriads of them right now. Before we begin, I'd like to dedicate this post to Deborah at Kilbourne Grove. She has a great blog and a fondness for snowdrops, and I learned the word "pleach" from her.

Here are some examples along the path leading to my allotment (click to enlarge any photo):

I especially like the snowdrops under the corkscrew hazelnut above, and the beautification of the compost silo below.


My neighbor has the most beautiful snowdrops in my immediate vicinity - the same neighbor who has the most beautiful dahlias and asters - I was lucky in my choice of location! Here are some photos, not that great since I didn't want to climb over the fence and he wasn't "home".

My own garden is also full of snowdrops, for which I can't take any credit, as they were planted by my predecessors. Here some impressions:
In one case I unwittingly did my best to smother them by dumping a pile of earth along the side of the path, but the hardy little plants poked right through and look stronger than ever:
In German these flowers are known as "little snow bells" (Schneeglöckchen). Here's some more next to my attempt to build a shelter for hedgehogs, mostly destroyed in the big storm we had a few weeks ago.
And one more shot of the snowdrops next to our patio:

Snowdrops are certainly charming, but I think the other early spring flowers blooming at the same time are just as lovely. Here a brief impression of some of our crocuses and dwarf irises as final shot in this post:

Thursday, March 18, 2010

Finally Spring Part I: Progress in the kitchen garden

After a long pause since my last post, spring is finally seriously here and I have some progress to report on. First of all, I've now completed the boxwood hedging around my kitchen garden (aka potager, Bauerngarten, formal herb garden). For more information on the design and previous steps, see here. The circular hedge in the center was still missing. To plant it, I first made a compass using strings and posts (click to enlarge):


After tracing a circle of 180 cm diameter using a crowbar fastened by a string to the post in the center, I proceeded to plant the boxwoods, this time with somewhat larger ones to the left and right of each entrance to the central circle:


As centerpiece I'd been looking for months for the perfect birdbath with no luck. I even ordered some catalogs of elegant English garden supplies, but the birdbaths were either not to my taste or exorbitantly expensive. On a recent trip to Holland, I finally found one. It's out of cast iron with a brass finish, instead of cast stone or granite as I had originally intended, but I think it will do quite nicely. I found it at what must be a contender for the world's largest gardening center, Oosterik, in Denekamp, Holland.

When I'm finished, the birdbath will go in the middle where the post is. It has a sort of kitschy fairy on it, but I like it!


While I was working, this little fellow jumped out from under one of the large boxwoods in the background, ran to the edge of a path and froze, allowing me to photograph him/her. I'm afraid it's a vole.


Now I can finally begin with planting herbs, flowers, and vegetables in each of the four sectors. First on my list is St.-John's-wort (Johanniskraut), which, in addition to having attractive yellow blossoms almost all summer long, is also a traditional indigenous medicinal herb, at least in Germany. More to follow!